
Every trip we do has a part which mostly is left out from the description. Yet, it feels a waste to leave it out, as it might be useful for other travelers or it has some fun personal memories that simply didn’t fit in the main description. Thus, this post is dedicated to all that: preparation, moving around Iceland, outline of the trip, GPX files, food supplies and much more.
Packing your backpack
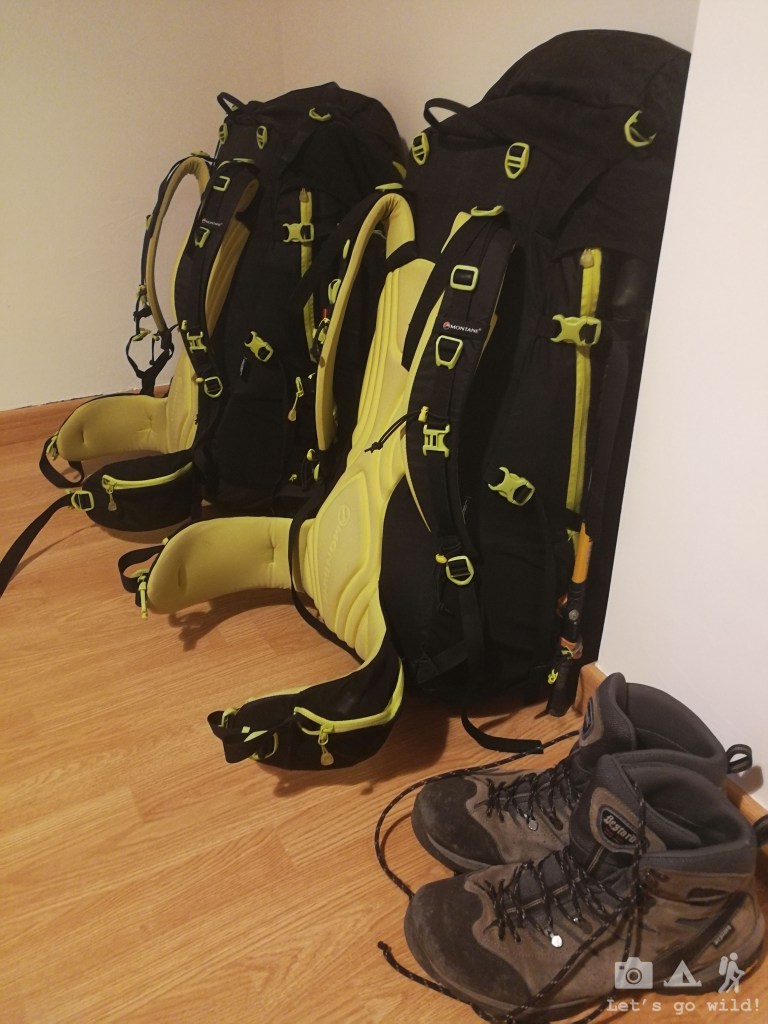
We won’t give a full list for packing your hiking stuff, but rather go through some most important and Iceland specific things.
- Waterproof clothing. Iceland can be cruel with its weather. Temperatures during the day barely go above 10-12 degrees even in July. On a rainy and windy day you surely want to keep yourself dry to enjoy the stay. This time we were using again Marmot Precip jackets and I had additionally the cheapest waterproof pants from Decathlon, which worked out perfectly well both on a rainy day and as a wind stopper.
- Winter gloves. Yes, even in July! Better with Gore-Tex or other waterproof material. We were having doubts when packing them (it’s summer for Gods’ sake…) but then we appreciated them so much… They kept us dry and warm on the rainy day as well as on the higher mountains where temperature drops significantly.
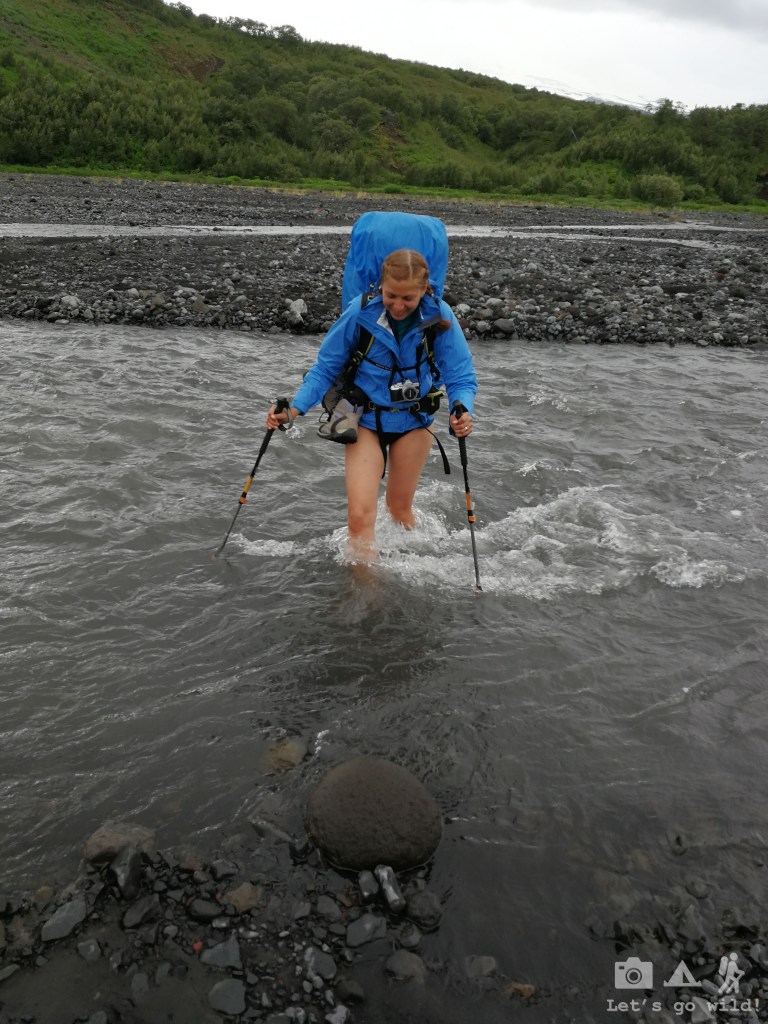
- Sandals or water shoes is a must when doing Laugavegur trail – there are 4 knee deep river crossings that will be painful to do barefooted.
- Extra power for your devices. Once out on the 6 days trail, you are left with your own power supplies. There is no option to charge your phone in the huts if you are camping. (You can probably get some electricity if you are staying in the huts though).
- Sun protector. The weather forecast for our 10 day trip was showing heavy clouds and rain most of the days. Thus, we left our sun protection at home. It wasn’t likely we would need it so why carrying additional weight? Yeah, right… brilliant idea!!! Our skin suffered very much from the arctic sun that simply doesn’t set. Don’t trust the weather forecast and be ready for any weather!!
- First aid kit. A must for any multi-day hiking trip. There is not much civilization in the highlands of Iceland thus you better go prepared for the basic emergency situations.
Moving around Iceland
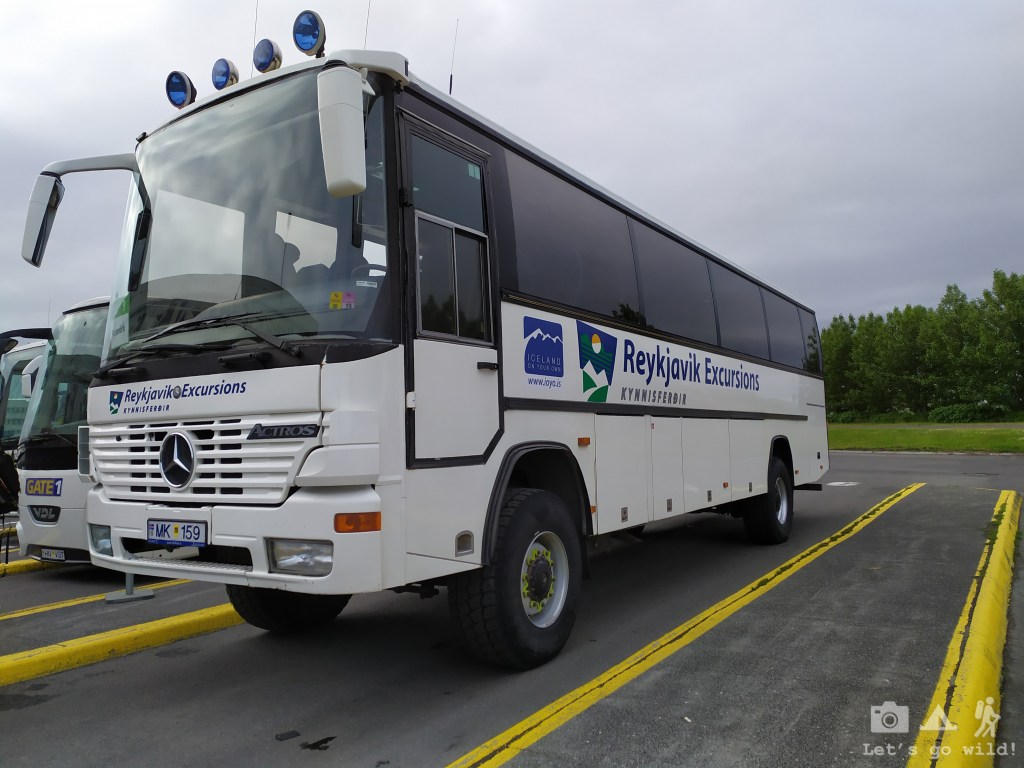
If you are not willing to rent a car or hitchhike, then most likely you will be using public or private bus services, just like we did. There are multiple companies that provide hiker pass options to travel to and from Laugavegur and Fimmvörðuháls trails, with the stops at Skógar, Landmannalaugar and Þórsmörk. However, there was a more expensive option which also included Glacier lagoon and some other stops in the South coast. We didn’t reach the Glacier lagoon simply because we didn’t see the option for the bus… So please, investigate well which bus passport you need!!
Some of the bus companies to investigate before you go:
- https://icelandbybus.is/bus-passports (this one had an option for reaching Glacier lagoon)
- https://www.re.is (we used this one. The busses are quite old, but reached their destination)
- You can also explore public busses: https://straeto.is . You can pay with a credit card when traveling outside Reykjavik. However, a local bus will need cash payment or payment on their app.
A full map of public and private busses can be found here: http://www.publictransport.is
We saw an option of car pooling as well, but didn’t really try it: http://www.samferda.is
And in case you need a car but have forgotten your credit card, try https://sadcars.com They are the only ones in Iceland that allow you to rent a car paying cash or debit card if you buy a full insurance. Or even better – don’t forget your credit card when travelling!!!
Laugavegur and Fimmvörðuháls trail outline
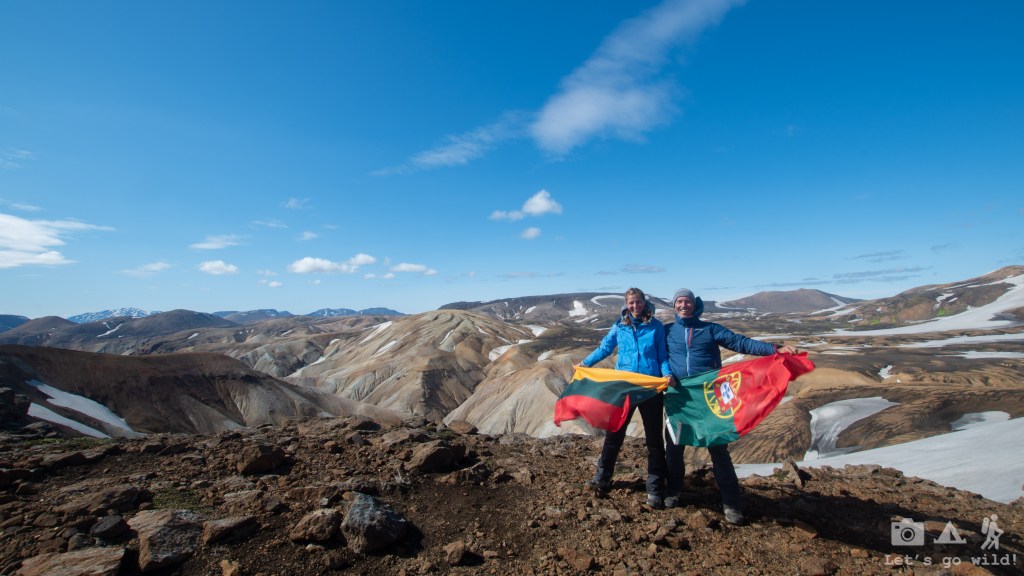
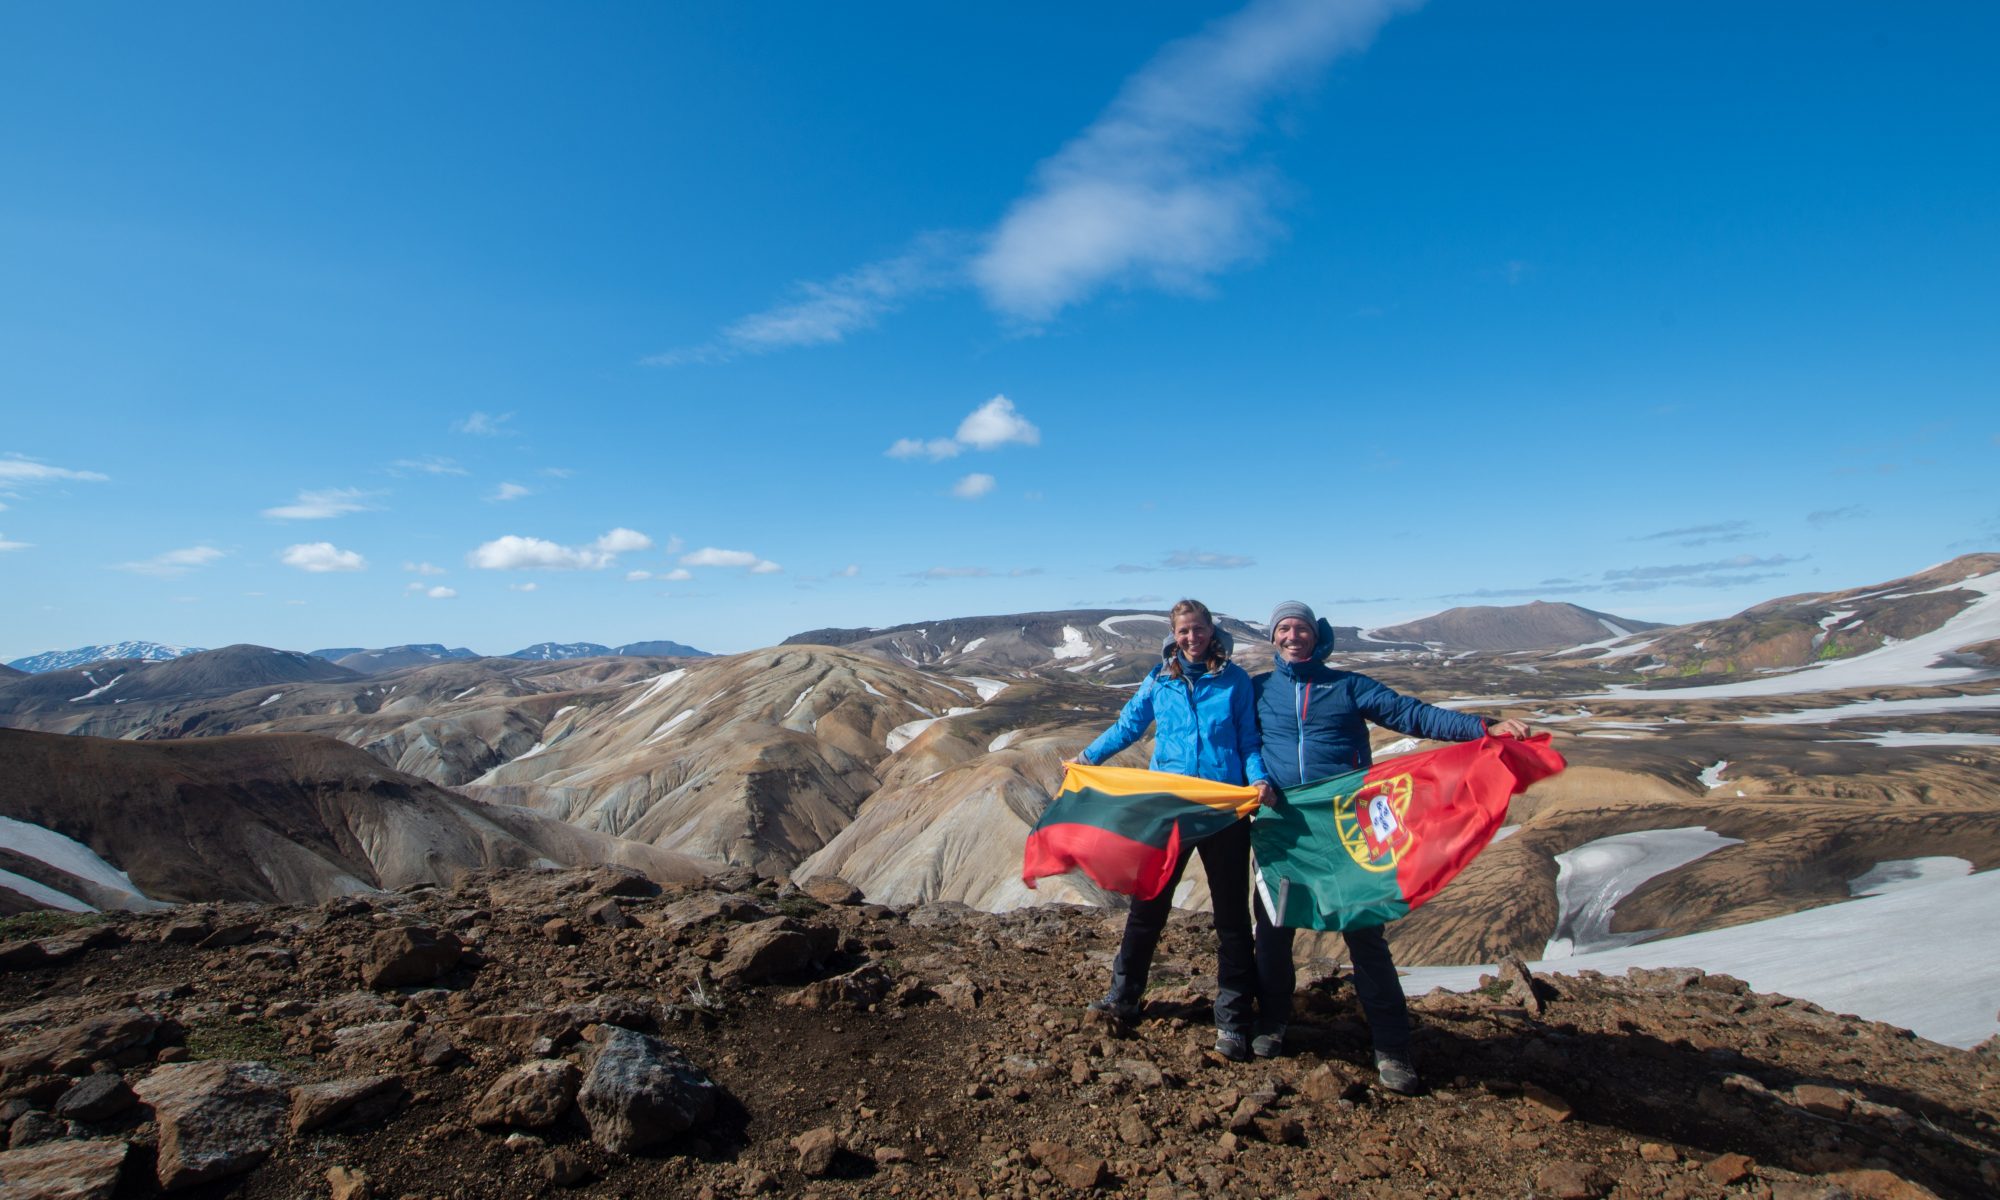
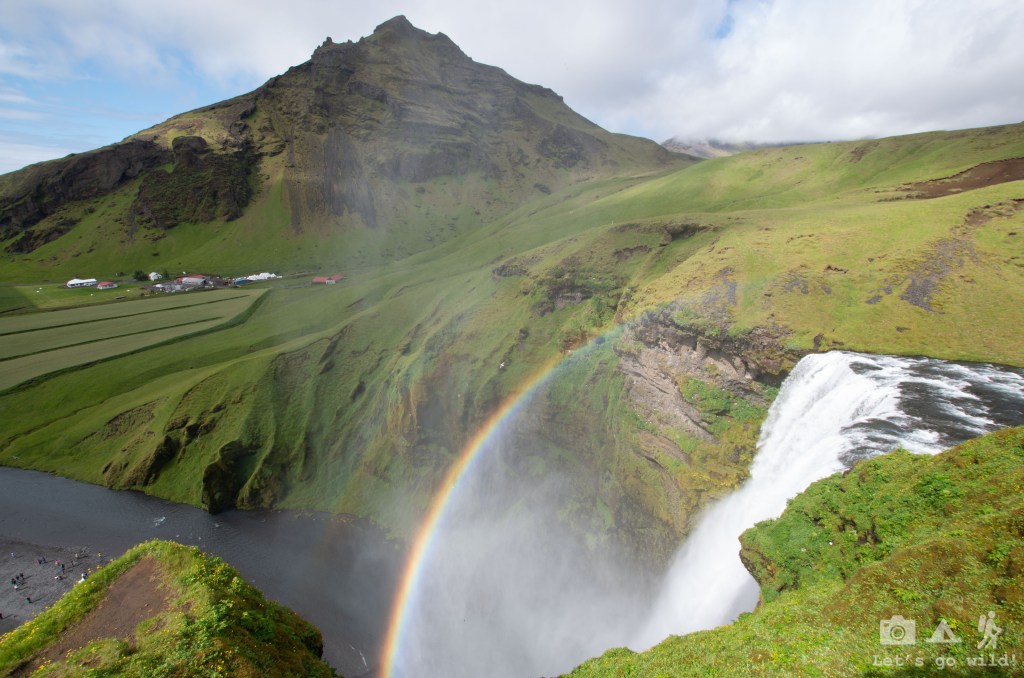
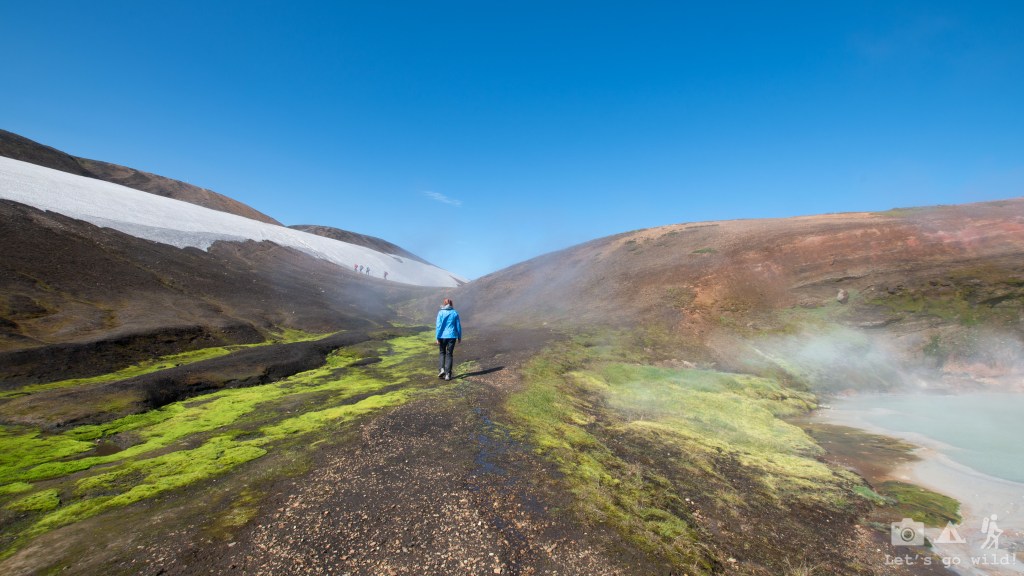
Our main objective in Iceland was multi-day hiking in Laugavegur and Fimmvörðuháls trails. You can find our full story of adventures in the post Skogar to Landmannalaugar: Multi-day hiking in Iceland. In our preparation we’ve put an outline of the full trail with the basic information about distances, staying places and other important comments. Now we are also adding our GPX files.
We did these two hikes in 6 days, starting at Skogar, which is normally considered to be the end of the trail, not the beginning. Therefore, our route was a bit more difficult, with more climb than descent, but with a rewarding end in a hot spring at Landmannalaugar. We would still do it the same direction again.
Day 1
Reykjavik to Skogar with a bus (we arrived around 11:30 to the starting point)
Hike from Skogar to Baldvinsskáli Hut
| Distance | Ascent | Descent | Time |
| 14,1 km | 1096 m | 211 m | 8:30 hours |
GPX file >> wikiloc hike details
Comments:
- Officially there is no water supplies in the hut, but they did have some canisters and allowed us to refill. The last place to get water before reaching the hut is at the river crossing, still quite a few km before the hut. It is very important to carry some water with you and also refill (if possible) in the hut as there won’t be natural water supplies until you reach Þórsmörk at the end of next day.
- There is no trash disposal either, so you have to carry your own trash to the next hut.
- There is another hut, Fimmvörðuháls Mountain Hut a bit higher up in the mountain, which has more services, but you have to hike another hour to reach it and divert a bit from the main trail.
Day 2
Baldvinsskáli hut to Langidalur
| Distance | Ascent | Descent | Time |
| 14,4 km | 413 m | 1107 m | 8:30 hours |
GPX file >> wikiloc hike details
Comments:
- There are some exposed areas with chains that might be tricky for people with vertigo, especially when carrying jumbo backpacks or in heavy rain. The chains in some parts were barely holding and didn’t serve their duty!
- There is also one short ridge which is exposed on both sides and with no support whatsoever. A really tricky place for people with vertigo (be ready to crawl if you have issues with heights).
- The bridge to cross the river before reaching the Langidalur hut has wheels – don’t be surprised if you won’t find it in the same place as map indicates!
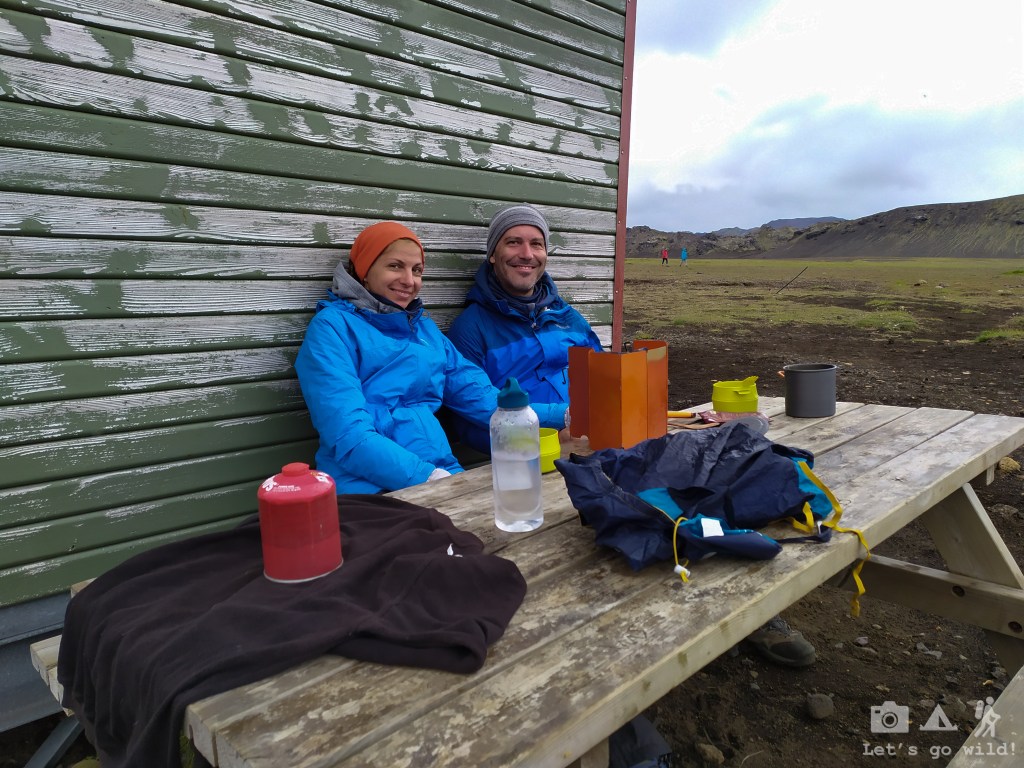
- The camping has a tent with a few tables to hide from a bad weather while cooking or eating.
Day 3
Langidalur to Emstrur
| Distance | Ascent | Descent | Time |
| 16,4 km | 707 m | 472 m | 7:00 hours |
GPX file >> wikiloc hike details
Comments:
- You will have to cross one river today with a painfully cold water. Have sandals or water shoes to do it! Depending on the year it can be knee or even mid-thigh deep. Try crossing at the place where the river goes wider, it will be less deep. For general safety, don’t fasten your backpack in case you fall in the water.
- At the end of the hike there is a bridge to cross the river. The trail to reach the bridge is a bit exposed, but not too much. We think it would be much more complicated to do this section the opposite direction (north to south), especially for people with vertigo. We were lucky with our choice 😊
- There is no trash disposal at the hut in Emstrur.
- The camping has a tent with a few tables to hide from a bad weather while cooking or eating.
- There is a nice Markarfljótsgljúfur canyon for a detour from the hut. A nice add on at the end of the day or next morning. (With our bad weather we decided to skip it)
Day 4
Emstrur to Álftavatn
| Distance | Ascent | Descent | Time |
| 16,7 km | 568 m | 484 m | 6:30 hours |
GPX file >> wikiloc hike details
Comments:
- The easiest day of all the hike, but very monotonous.
- There will be two rivers to cross again, around knee deep.
- If the weather is nice, you can add a hike around the lake once you reach the hut.
Day 5
Álftavatn to Hrafntinnusker
| Distance | Ascent | Descent | Time |
| 11,8 km | 790 m | 296 m | 6:30 hours |
GPX file >> wikiloc hike details

Comments:
- One last river crossing, below knee.
- We found information that there were some ice caves nearby the Hrafntinnusker hut, but the warden told us they collapsed few years ago.
- Mobile network is only available in higher places surrounding the hut.
- You can climb to Sodull summit at the end of your day. It’s a nice and easy hike with beautiful views.
- The hut has no shower, no shelter for cooking and once again you can’t dispose your trash.
Day 6
Hrafntinnusker to Landmannalaugar
| Distance | Ascent | Descent | Time |
| 11,3 km | 310 m | 722 m | 4:30 hours |
GPX file >> wikiloc hike details
Comments:
- The camping at Landmannalaugar is almost literally in the parking lot – quite ugly and crowded. Besides, extremely full of small annoying flies.
- The hot spring is just a few minutes walk away from the hut. If you want to be alone in the pond you should be there very early in the morning or very late in the evening. However, even in busy hours you will find a spot for your tired body.
So, all in all be ready to hike around 85 km with ~3500 meters of ascent and ~2800 meters of descent (Or vice versa if you decide to do the classical north to south direction). Some hikers join day 1 and 2 or day 5 and 6 into one day, but we do not recommend doing that.
- First, you have to be quite fit to do that.
- Second, and more important, you will not have time and energy to enjoy all the beauty of the nature it has to offer in these sections. Take your time and enjoy every moment!
You can find detailed information about all the huts on the trail here: https://www.fi.is/en
Food
Food in every trip is worth a separate subject!
In Lofoten we suffered extremely with the weight of food because we carried mainly normal food for 15 days! Pasta, rice, buckwheat, canned meat, onions, oil, snacks etc. + 3 different pots for cooking it all and a few packs of dried travel food to try. We had approximately 10 kg of food each… That is a lot of weight for our untrained bodies!
In Switzerland we carried only one small pot to boil water and dried meals for travelers of few different brands, majority of which was simply disgusting… Of course, having restaurants and shops (even though very expensive) at a hand reach didn’t help enjoying our dried meals either. We brought half of the dried food packs back home…
In Vietnam we were so afraid of safety of local food and diarrhea but were on the contrary very pleasantly surprised and got back with extra 3 kg of weight (on our bellies).
For Iceland adventure we took into consideration all of our previous experience. Our trip was mainly wild hike with basically no option to fill in food supplies, so we had to prepare for carrying food for 9 days. Every gram counts… It is not easy to find a balance between needed calorie intake to have enough energy for the hikes and the weight you add into your backpack. Our choices were also limited by the restrictions of Iceland regulation which doesn’t allow to bring more than 3 kg of food per person into the country (not to mention restrictions of what you can’t bring at all).
We checked the prices of the dried travel food in Iceland and decided to bring as much of it as we possibly can from our home. The price difference was just outrageous! It was at least three times more expensive to buy it in Iceland. However, the simple food (bread, ham, cheese, chocolates) had a bit more reasonable price.
So, our menu in Iceland consisted of dried travel food for breakfast and dinner while for lunch we always had a cold snack (some bread, ham or cheese and a chocolate for a dessert). 9 days x 2 people x 2 meals a day = 36 packs of dried travel food! It takes a lot of volume but saves you weight and quickly reduces as the days go by.
An advice for choosing dried travel food: don’t bring only one brand unless you already tried it and know you like it!
We have tried quite a few different brands by now and we were very clear on what food we wanted to take to Iceland this time. In Switzerland we had food of 5 or 6 different brands and we were scoring every meal, thus accumulating experience for the future trips. Our favorite brand was Real Turmat but it is quite expensive and hard to get in Spain. Mountain House, on the other hand, was barely eatable (or not eatable at all in case of scrambled eggs) and left us hungry most of the times.
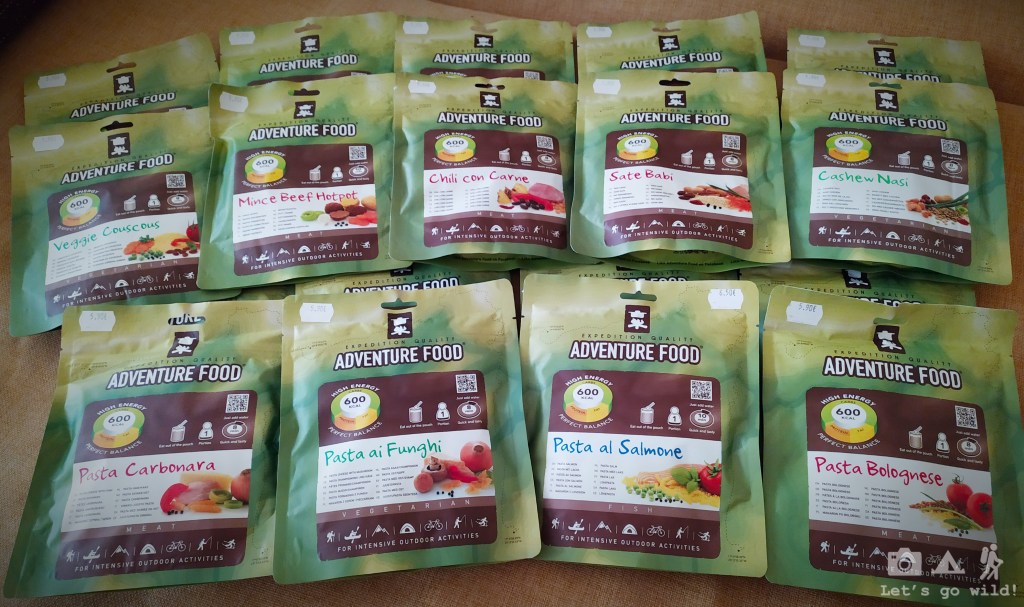
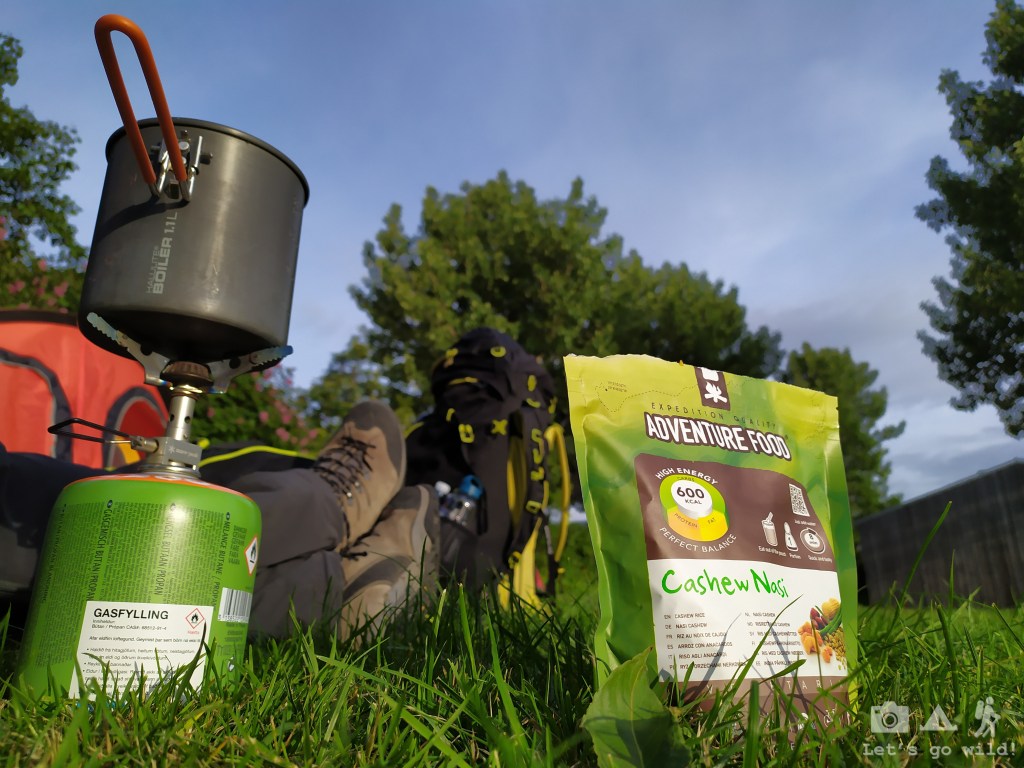
Thus, for Iceland we chose Adventure Food (our second favorite) and Aptonia (a Decathlon brand) for our meals based on previous experiences and they didn’t disappoint us at all. We also grabbed some oats for breakfasts and instant soups for dinners as they serve extremely well on cold evenings. Our dried meals + oats + soups for 10 days fitted in the allowed 3 kg per person (though no one really checked at the airport…), and we bought food for lunches in the local shop at arrival. Bear in mind the opening hours when you plan your initial shopping!
Where to find gas for cooking?
The easiest way to get gas in Iceland is in the gas stations. We saw gas basically in all gas stations (except automatic self-service stations, of course). The most common brand for the gas we saw was Coleman, which didn’t really work with one of our stoves and the other one was suffering a bit as well.
If you need a specific brand of gas – make sure to buy it in Reykjavik in a specialized shop before you kick off for your hike.
If you have enough time and plan B options – check the share point in the camping before going to by gas. There was plenty of half full or even full gas in Reykjavik camping as well as in some huts too.
Other useful information
Check weather forecast every day: https://en.vedur.is . Also ask wardens at the huts about weather conditions in the specific area.
Information about general safety in Iceland: https://safetravel.is
Stay safe!
